Email set up for Windows Mail
To set up your email account in the Windows Mail program, please follow the instructions below:
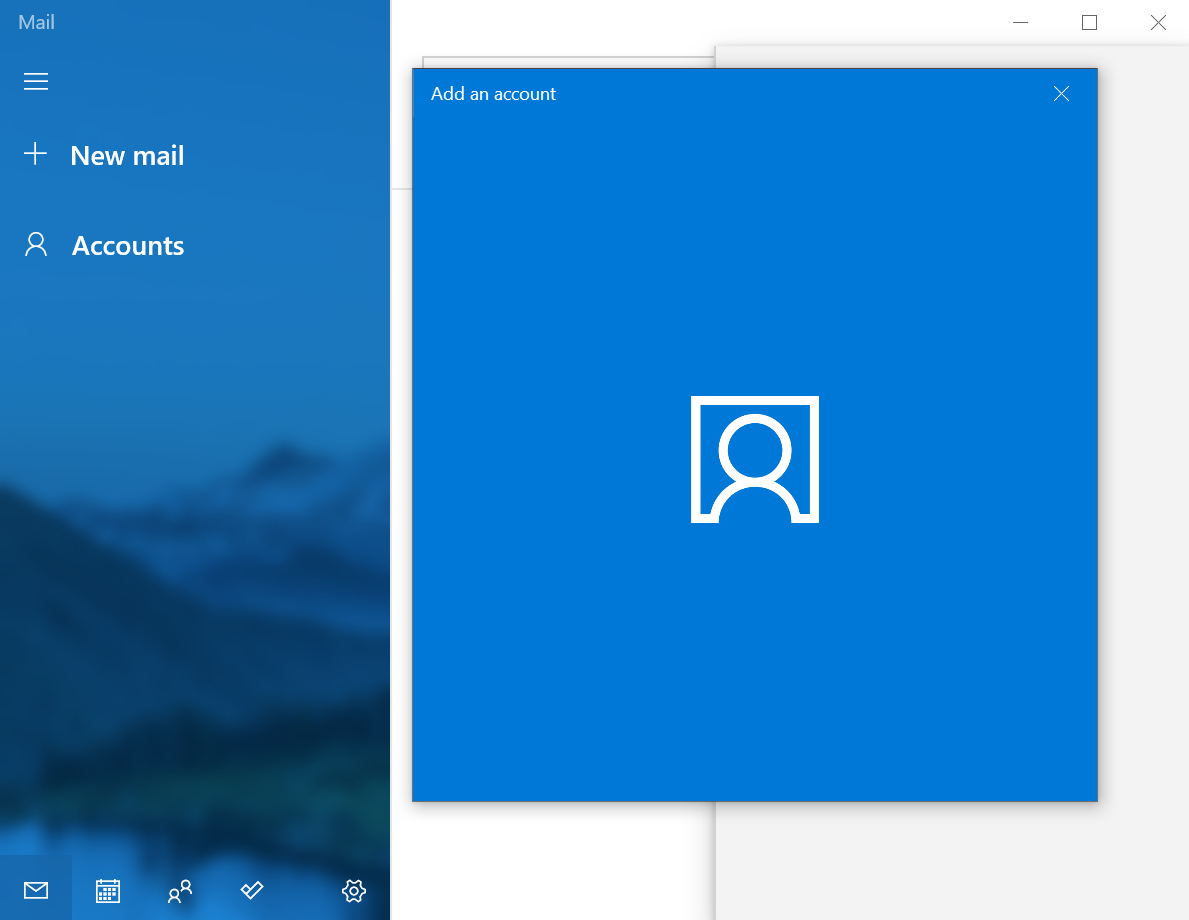
Step 1
Open your Mail program. (Just type Mail into the Windows Search Bar). Click on Accounts / Add Account.
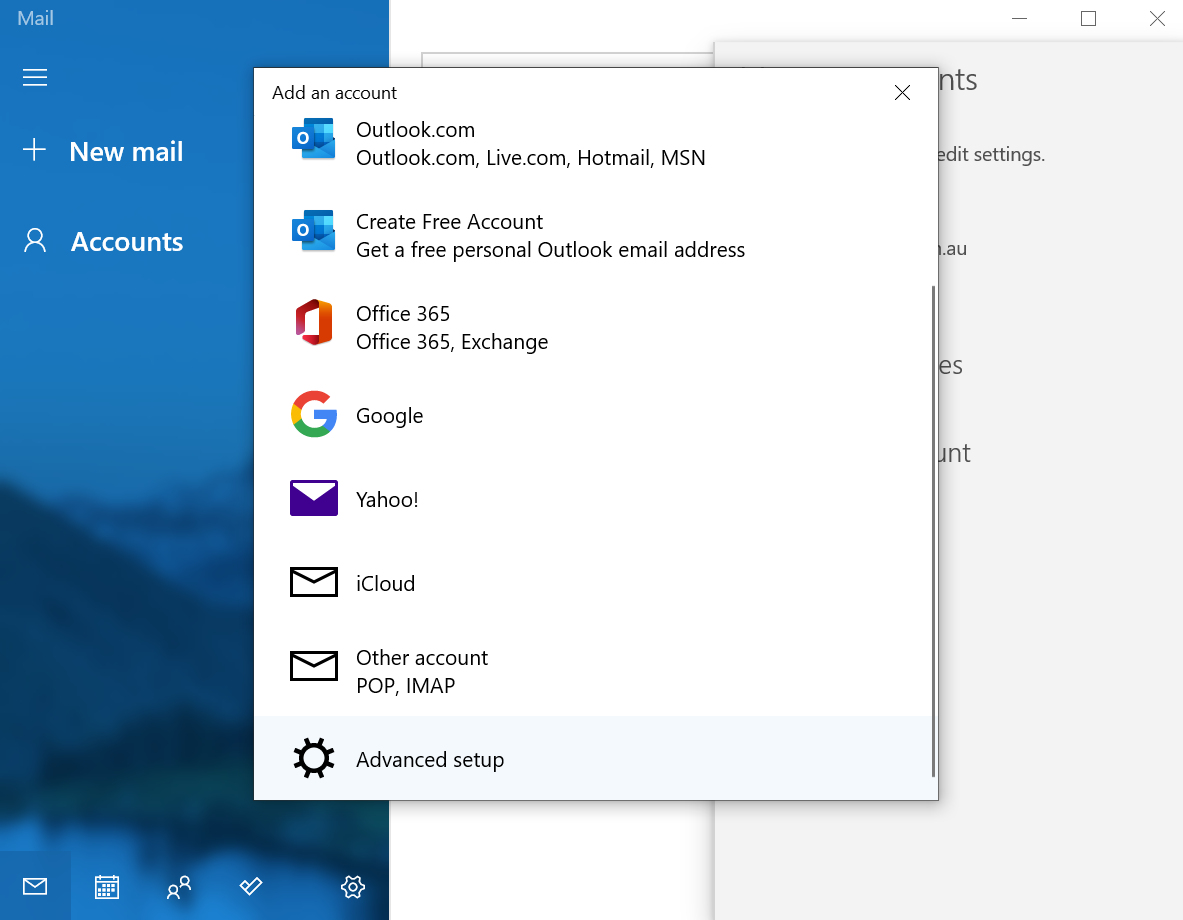
Step 2
In the pop up window, scroll to the very bottom and select Advanced setup.
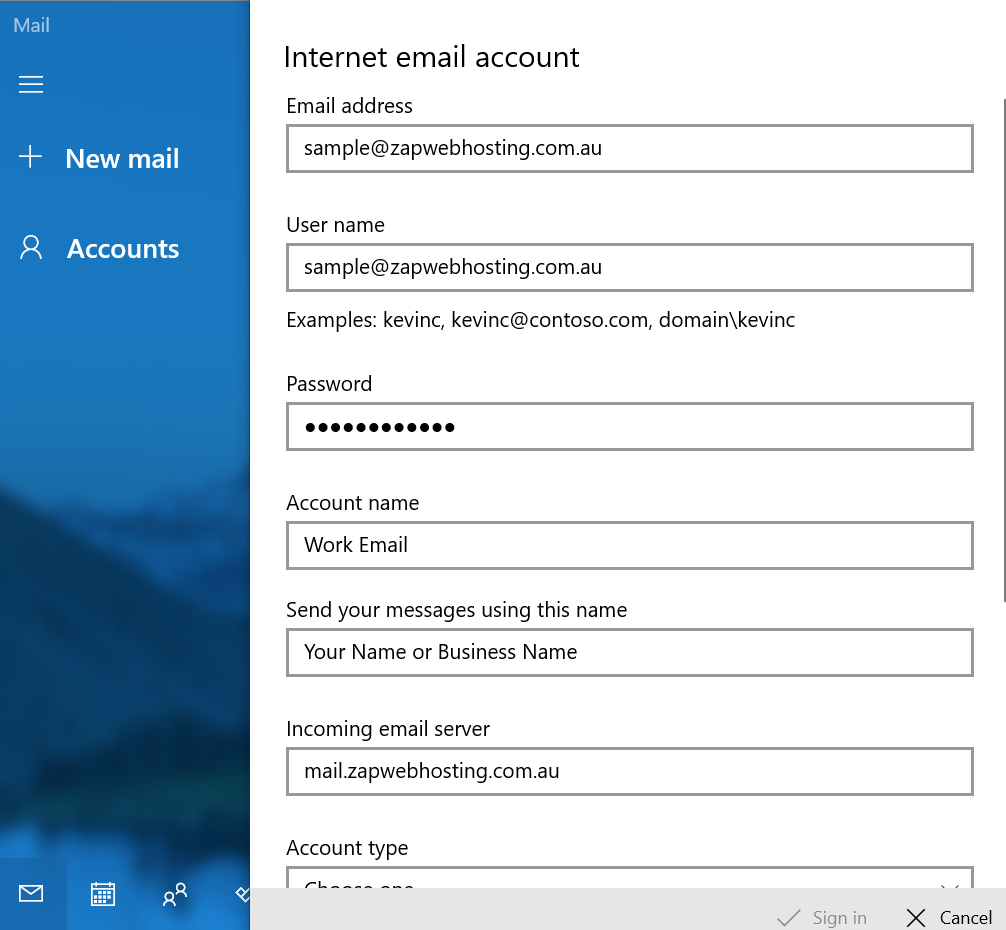
Step 3
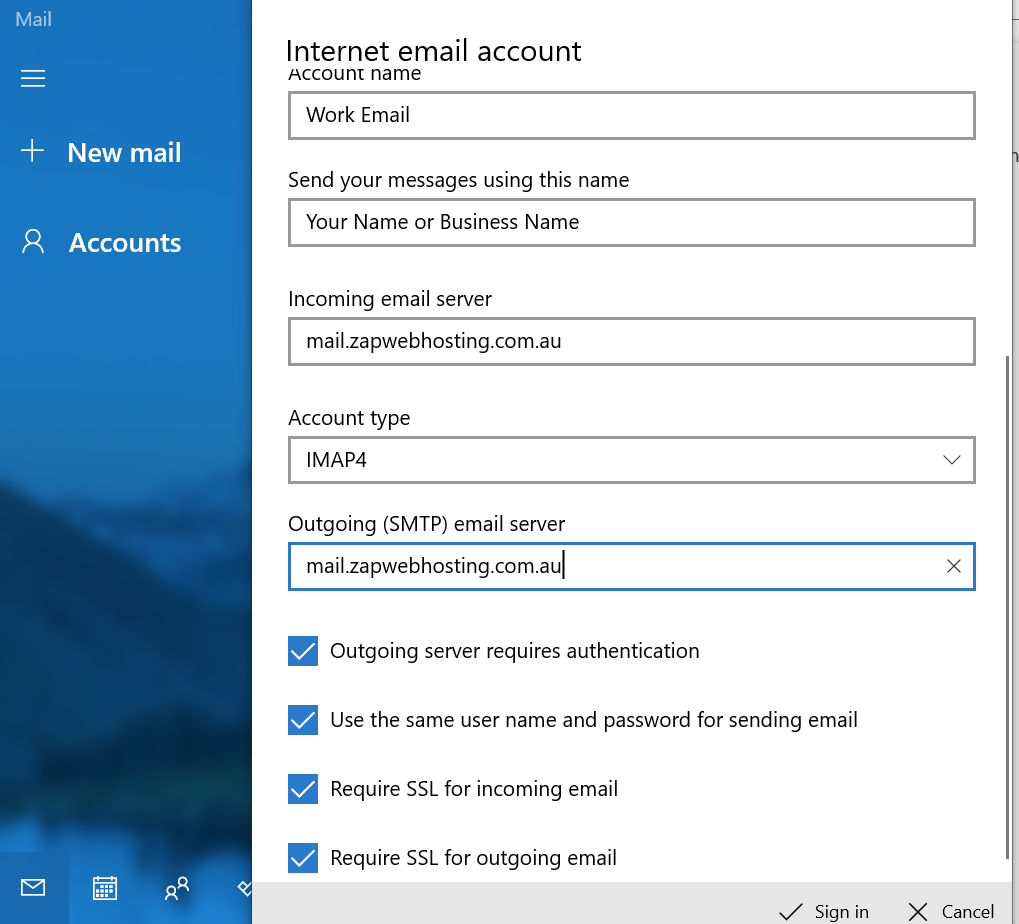
- Add your email address to both Email address and User name.
- Enter your password and click the eye icon to confirm its correct.
- Name your account, this is for your own reference.
- Enter the name you want people to see when receiving emails from you.
- Add incoming mail server as provided with your account details.
- Select Account type IMAP4 or POP3.
IMAP
IMAP stores the emails on your web hosting account. You can access them from any device. If you tend to store a lot of your emails you may need to upgrade your web hosting account at some point.
POP
POP stores the emails on your computer locally. You can set the email program to leave a copy of emails on the server so you can receive them on other devices if needed.
- Add your Outgoing (SMTP) mail server as provided with your account details.
- Leave all other boxes ticked and click Sign in.
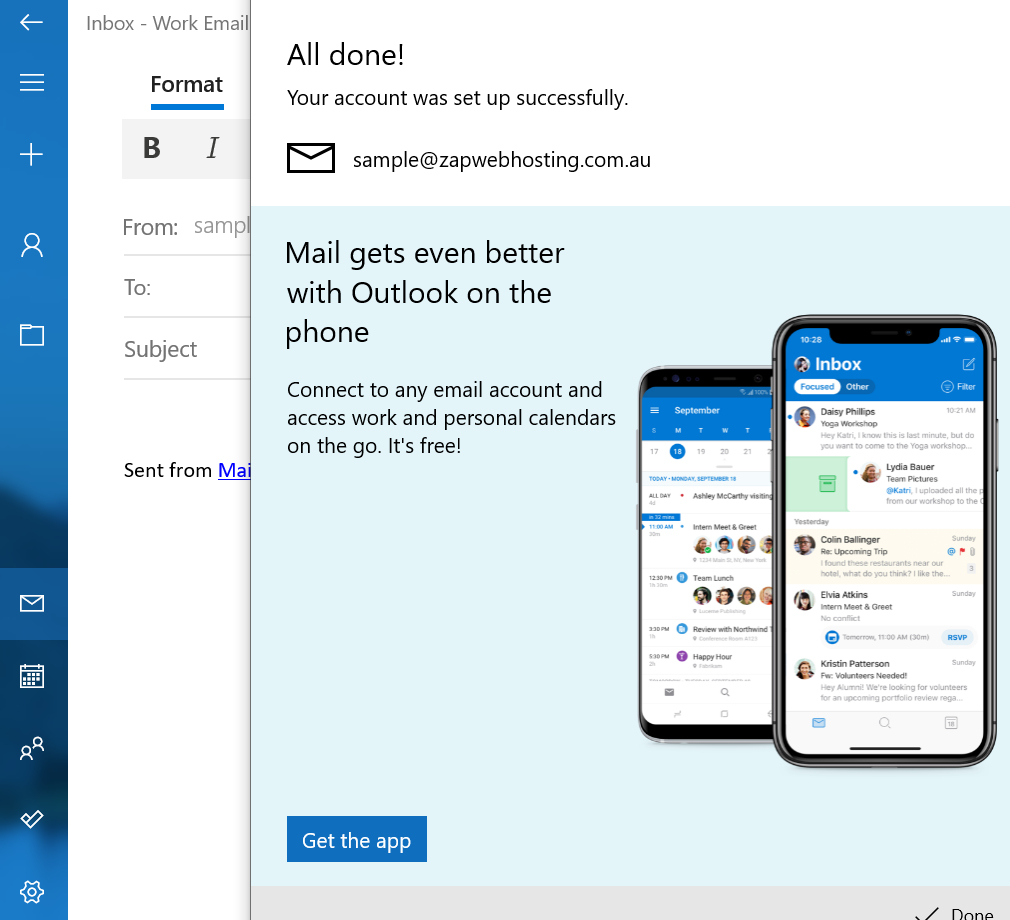
Step 5
All done. Your should see a screen similar to below.